In this post, I would like to share the manual steps that work to build a Kubernetes Cluster on Ubuntu 18.04 LTS. We will be using the Docker to install Kubernetes.
The three-node cluster that we will be forming in this post will consist of one Master node and two Slave nodes. Therefore, follow the steps described below to install Kubernetes on Ubuntu nodes.
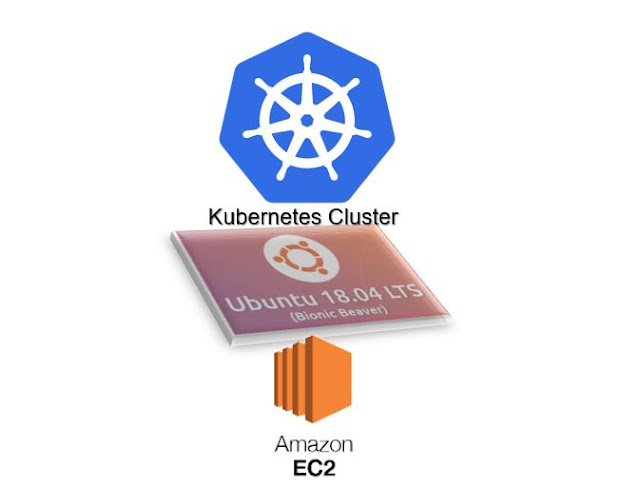 |
| Kubernetes Cluster configured on Ubuntu EC2 instances |
AWS setup for Kubernetes
Step 1 :
Install three Ec2 instances in AWS console.
The AMI we are choosing here is Ubuntu 18.04 LTS (HVM).
 |
| Choose AMI |
In this step, we can choose any instances types with your own perspective. I have taken a general-purpose instance type. Click on "Next:Configure Instance Details".
 |
| Instance Types |
In configuring instance details we can directly create more instances if u give the number in the number of instances section. You can see in the below figure.Click on "Next:Add Storage".
 |
| Instance details |
We can see storage here it is the same for all and it is enough to cluster the Kubernetes. So that we are not adding any particular storage. You can add storage to your requirements.Click on "Next:Add Tags".
 |
| Storage |
Tag is a tab which is generally used to assign AWS resource. It contains a key and an optional value. These are user-defined values.It is not mandatory to add a tag.Click on "Next:Configure Security Group".
 |
| Create a Tag |
Click on Add Rule and add HTTP & ALL TCP rule.You can generate your custom configure security groups and then Click on "Review and launch".
Review everything and click on the "Launch" button on the bottom.
 |
| Review |
If you click on the launch button it will default ask about key pair. It is used for connecting your AWS to gitbash. It is better to use your existing key pair and do not delete it.
 |
| Selecting the Key pair to login to EC2 instance |
Here we get launching is done.
 |
| Launch successful |
Instances have been launched and you can see the instance states in the below image.
 |
| Instances |
Step 2 :
In this step, access your instances as shown in the below image. Here in the place of
ec2-13-235-134-115.ap-south-1.compute.amazonaws.com, we have taken the IPv4 Public Ip address.
The terminal we are using here is Git Bash. Open three Git Bash terminals and
you need to connect the three nodes in the same way for every step that is coming up.

Kubernetes installation on Ubuntu 18.04
Step 1: Pre-requisites install docker
We need to install the latest version of the docker in three nodes with the below command in the terminal.
# Check the hostname and the IP address are sync in the hosts file
cat /etc/hosts
#If not please edit the /etc/hosts file
hostname -i #should show the IP ADDRESS against the hostname that is mapped
#Install Docker better option is convenence script
apt install docker.io
 |
| Add caption |
To check for the docker version number the below code is used.
docker version
Step 2: Auto start enable for docker
We need to enable docker on these three nodes to automatically start when next reboot happens by running the following command.
systemctl enable docker
Step 3 : Install curl command
To transfer the data to the URL we use curl. Run the below command :
Step 4 :
To access the signing keys we need to run the below command :
curl -s https://packages.cloud.google.com/apt/doc/apt-key.gpg | sudo apt-key add
Step 5 :
For connecting your Xenial Kubernetes repository just run the below code :
apt-add-repository "deb http://apt.kubernetes.io/ kubernetes-xenial main"
Step 6 :
To create the kubernetes clustering nodes for faster access path we run the below code :
apt install kubeadm -y
Check for the Kubernetes version after installing it. Run the below code to get version.
kubeadm version
Kubernetes Deployment :
Step 1 :
For starting Kubernetes deployment first we need to check for swap memory.
Run the command shown here :
cat /etc/fstab
free -m
As you can see swap is 0 it means no swap memory if you are having the swap memory use the following code :
sudo swapoff -a
Run the below command in master node to process the slave nodes this command output is mandatory.
On local VM try:
kubeadm init --apiserver-advertise-address=192.168.33.250 --pod-network-cidr=192.168.0.0/16 --ignore-preflight-errors="all"
On AWS VM:
kubeadm init --pod-network-cidr=192.168.0.0/16 --ignore-preflight-errors="all"
Run these general commands to your cluster.
mkdir -p $HOME/.kube
sudo cp -i /etc/kubernetes/admin.conf $HOME/.kube/config
sudo chown $(id -u):$(id -g) $HOME/.kube/config
Deployment of Flannel pod network on cluster.
kubectl apply -f https://raw.githubusercontent.com/coreos/flannel/master/Documentation/kube-flannel.yml
Check for the status network and To do this run the below command :
kubectl get pods --all-namespaces


Check the status of nodes :
kubectl get nodes

In the slave node running the below command to generate Kubernetes on the master node:
kubeadm join 192.168.100.6:6443 --token 06tl4c.oqn35jzecidg0r0m --discovery-token-ca-cert-hash sha256:c40f5fa0aba6ba311efcdb0e8cb637ae0eb8ce27b7a03d47be6d966142f2204cf
kubectl get nodes
Happy to see that nodes are joining!!


 As you can see swap is 0 it means no swap memory if you are having the swap memory use the following code :


 In the slave node running the below command to generate Kubernetes on the master node:


Comments